
Managing an Organization on SkillsEngine
Tips for managing and creating an organization on SkillsEngine.
This article contains an overview and tips for managing and creating an organization on SkillsEngine.
To learn more about roles and permissions, see: Organization Permissions
Accessing Your Organization Management Page
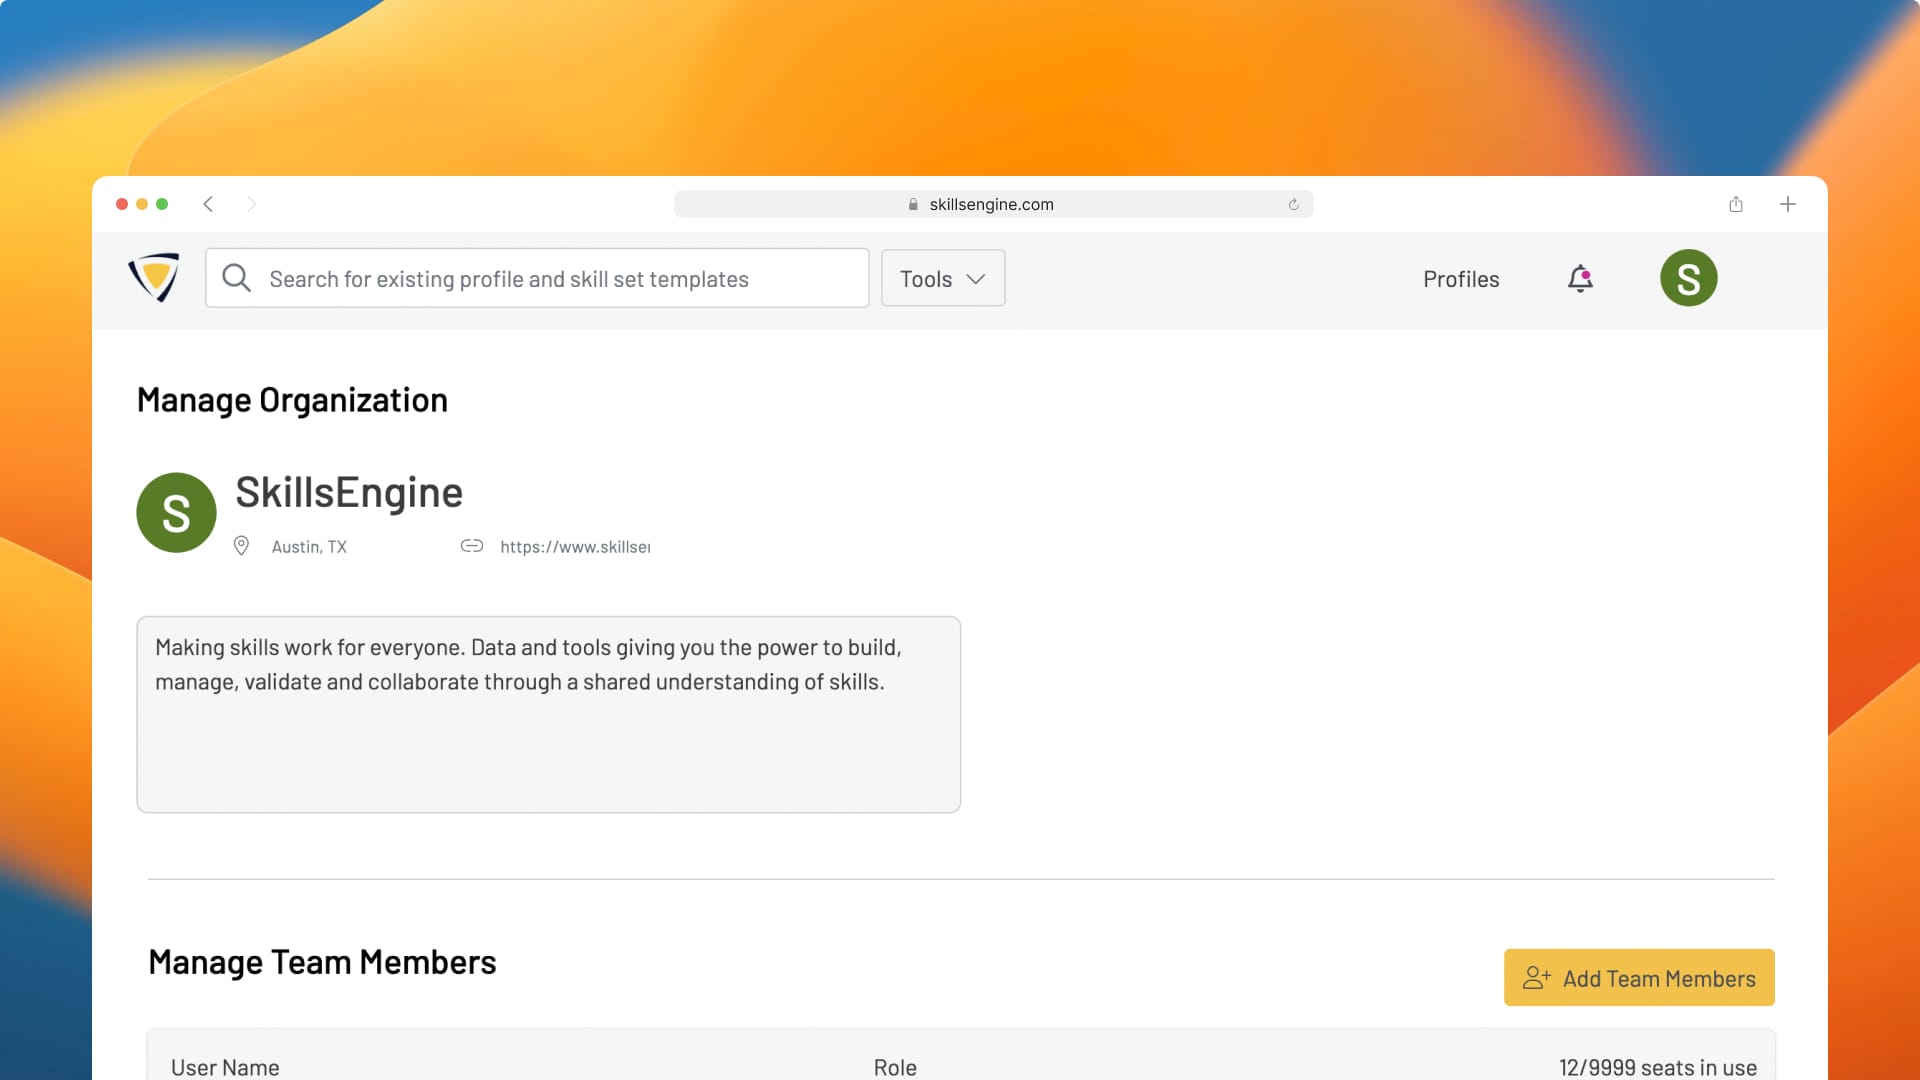
Step 1: Log into your account and click the icon in the top right corner of the window to open up the sidebar to view your organizations.
Your free account will be titled “My Profiles” and any others will have the title of organizations you own or are a member of (e.g. “SkillsEngine” or “Free Trial”).

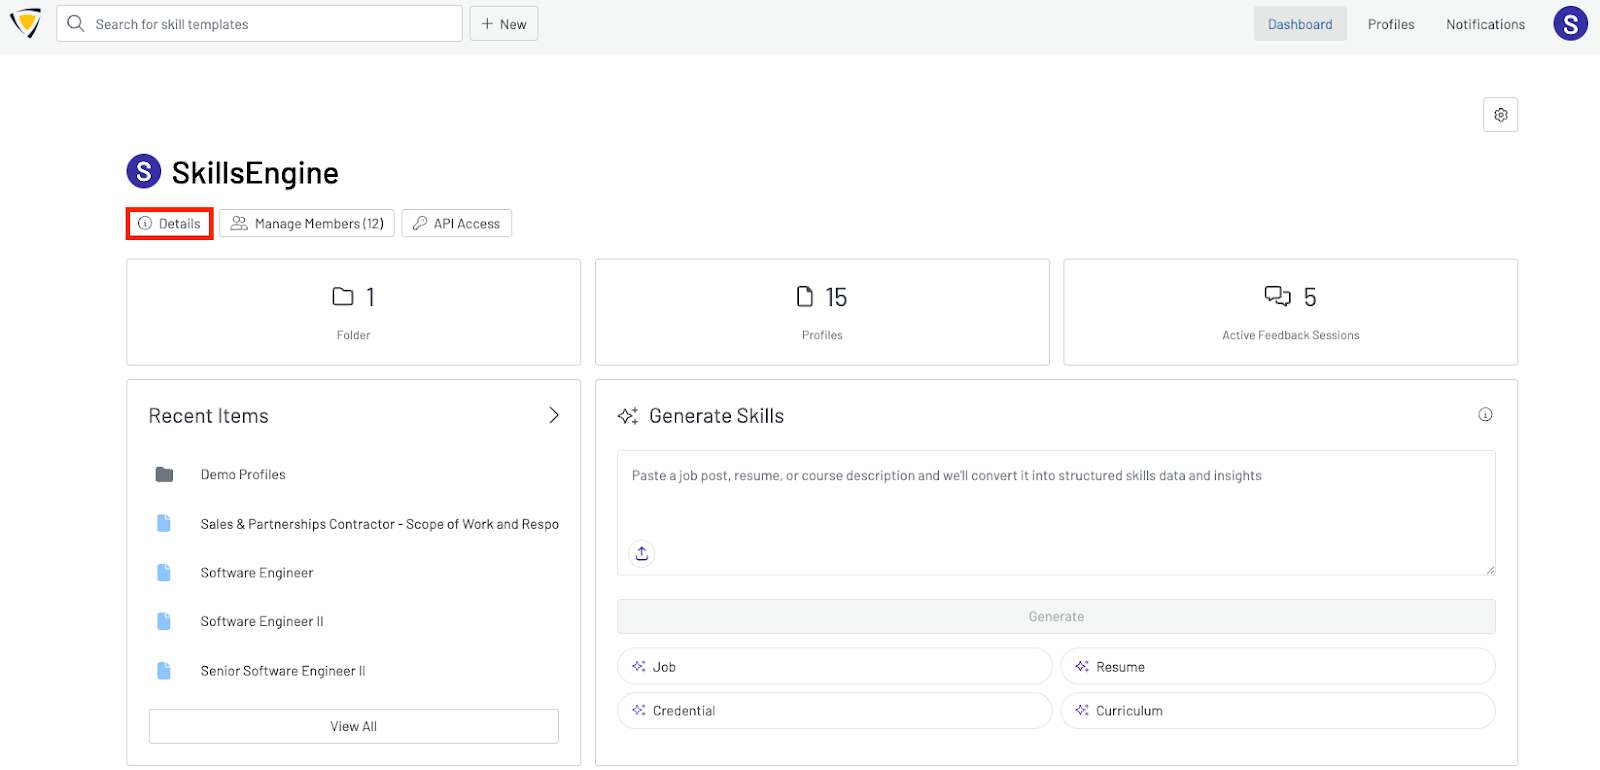
Step 2: Navigate to the profiles page and click “Details” to update your organization information or click “Manage Members” under your organization’s name to access the broader Manage Organization page.
Inviting Members to Your Organization Account
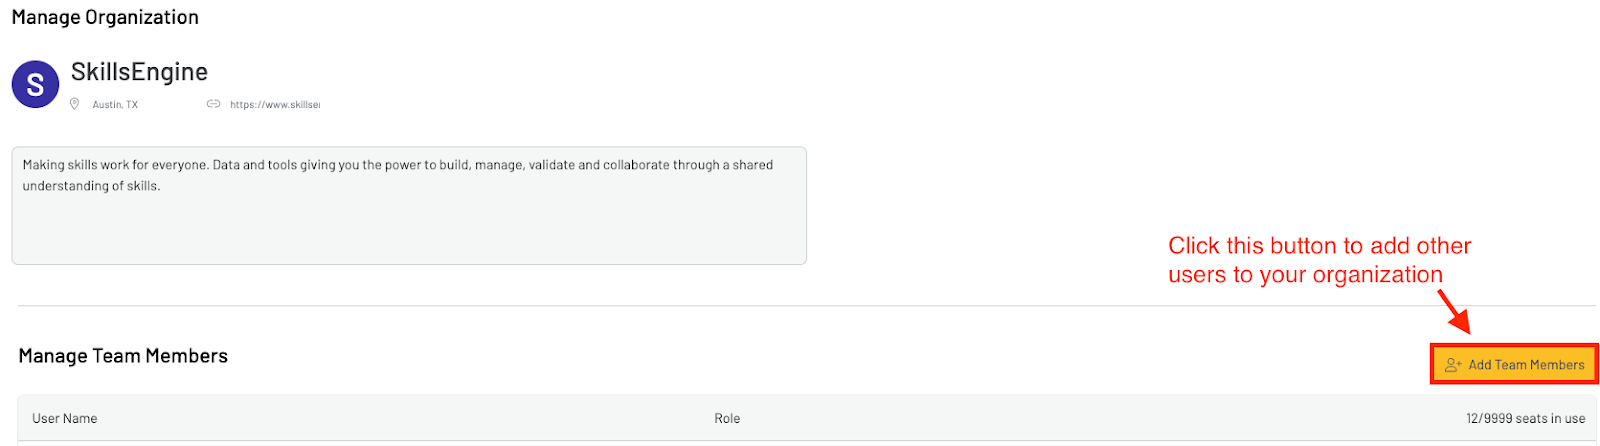
To add or manage team members in your organization account, click "Manage Members" under the organization name on the profiles page.
Step 1: If you have seats remaining on your subscription, you can add new members to your account by clicking “Invite Members.”
Step 2: Select the appropriate role for the new member from the “Choose new user role” dropdown. The page will update to show the permissions associated with that role.

Step 3: Input the email of the individual you are inviting to the account and click “Send Email Invite”.
NOTE: Permission to add new members is limited to Administrators and Managers only.
Editing User Roles
To change the role of an existing organization member:
Step 1: Click the edit button for a specific person to open their permission page.
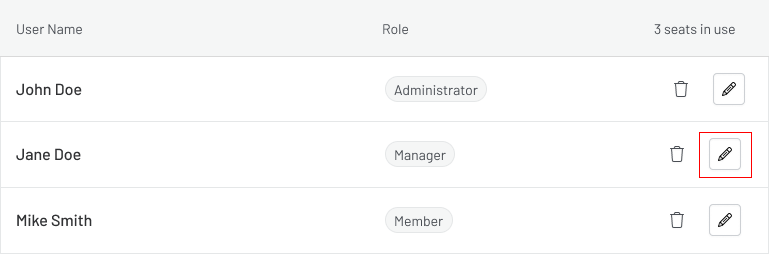
Step 2: Use the role selector in the top right corner to choose a new role from the dropdown options. The detailed view below the role selector will show the permissions for each role.
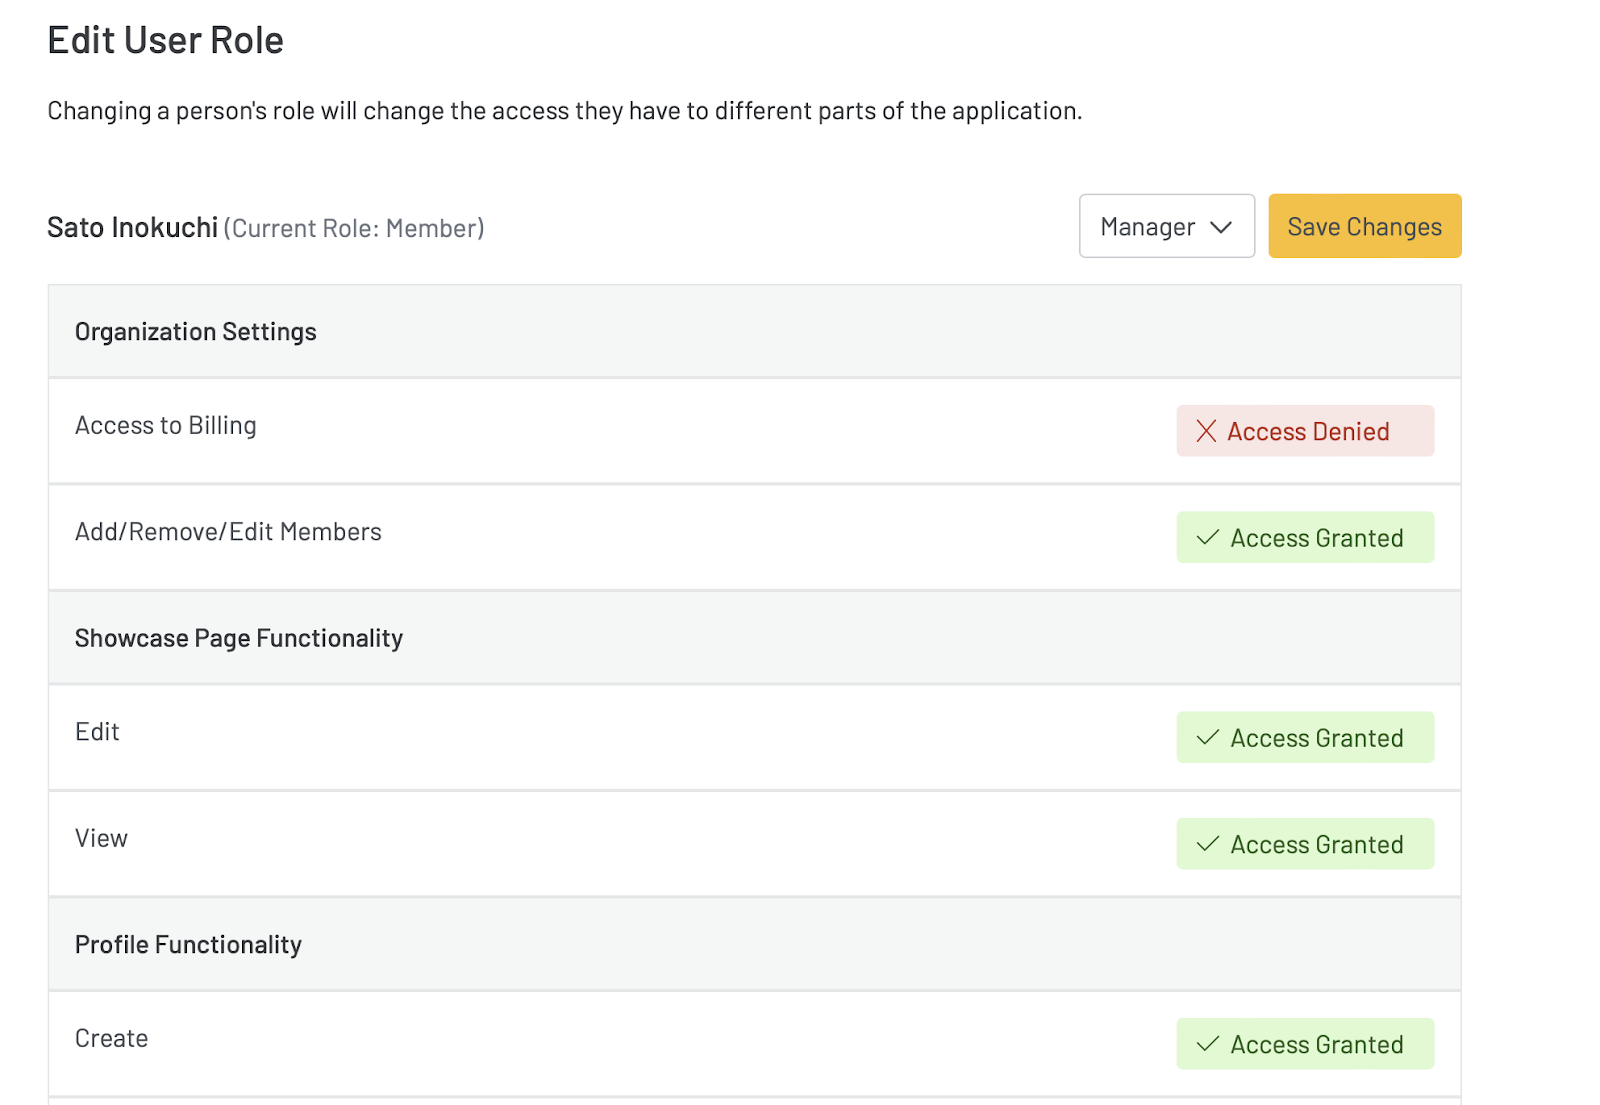
Step 3: Once you have picked a role, click “Save Changes” to finalize the selection.
NOTE: If you are downgrading a role to “Guest”, you will be prompted to transfer their assets to another organization member. Guests cannot create profiles so someone with the appropriate permissions must take on ownership of their profiles.
Removing a member
Removing a member from the organization will fully remove their access to all of your organization's profiles. To do so:
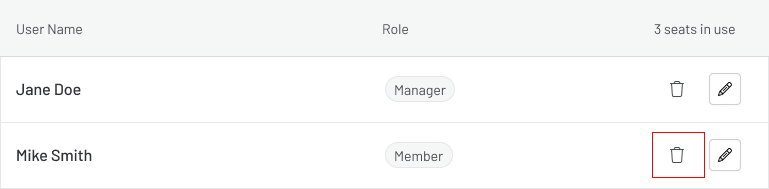
Step 1: Click the delete icon on the member table to remove a member from your organization.
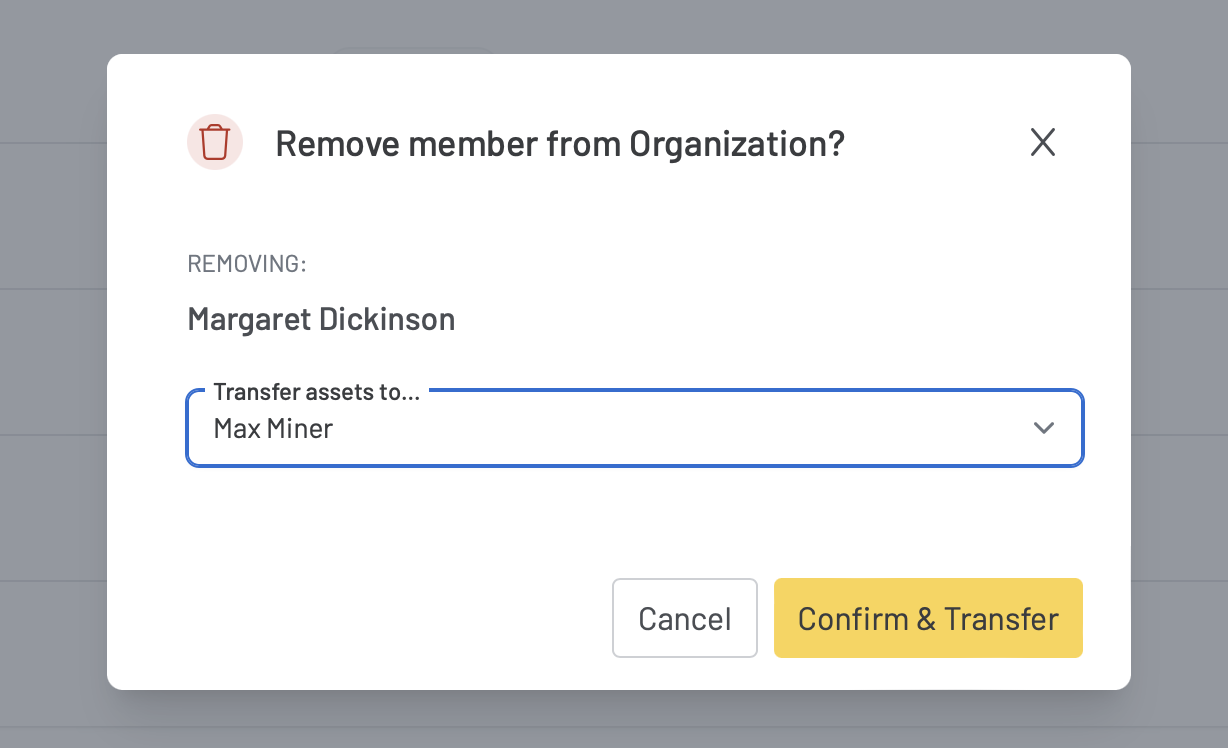
Step 2: Transfer their assets to an organization admin when prompted. This confirms the removal of the member from the organization and ensures everything they created remains within the account.
Manage Billing
To manage your billing:
Step 1: Navigate to your organization’s profiles page and click the “Manage Members” button.

Step 2: This will bring you to the Manage Organization page where you can manage billing, add users, edit permissions, and see your plan.

Note: You can also access this page by going to your Account Settings, clicking “Organizations” in the list on the left, and then selecting the relevant organization.
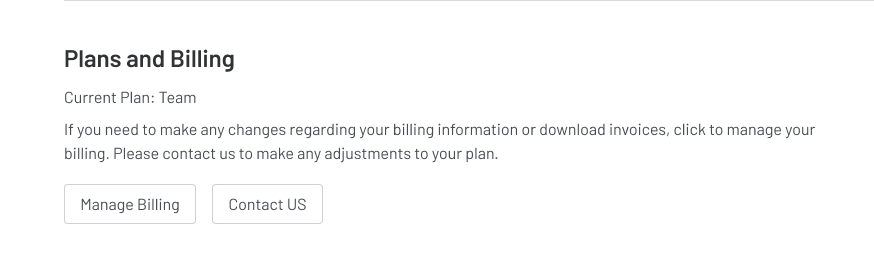
Step 3: You can then manage your billing info or view billing history by scrolling to the bottom of the org settings page and clicking “Manage Billing.” This will lead you to your Stripe customer portal.
If you would like to change billing cycles or upgrade or downgrade your plan, please contact us and we will assist you with your request.
Step 4: From within your Stripe customer portal, you can update your payment method or cancel your plan. The cancellation will be effective at the end of your billing cycle.
Creating an Organization
To create a new, paid organization:
Step 1: Click the icon in the top right corner of the page to open up the sidebar. Then select “Create New Organization.”

Step 2: Next, select the type of organization you’d like to create. We offer two organization plans: Team and Enterprise. The Team plans can be paid for on a monthly or annual basis.

Step 3: Once you select your plan and fill out the required fields, click Submit to be brought to the payment page. If you select the Enterprise plan, you will be brought to a confirmation page and we will contact you about next steps.

Step 4: Submit your payment to finish setting up your subscription.
Note: It may take a couple of minutes for the system to finish setting up your new organization after payment has been received.
Updated 10/03/2025, 2:00pm CST